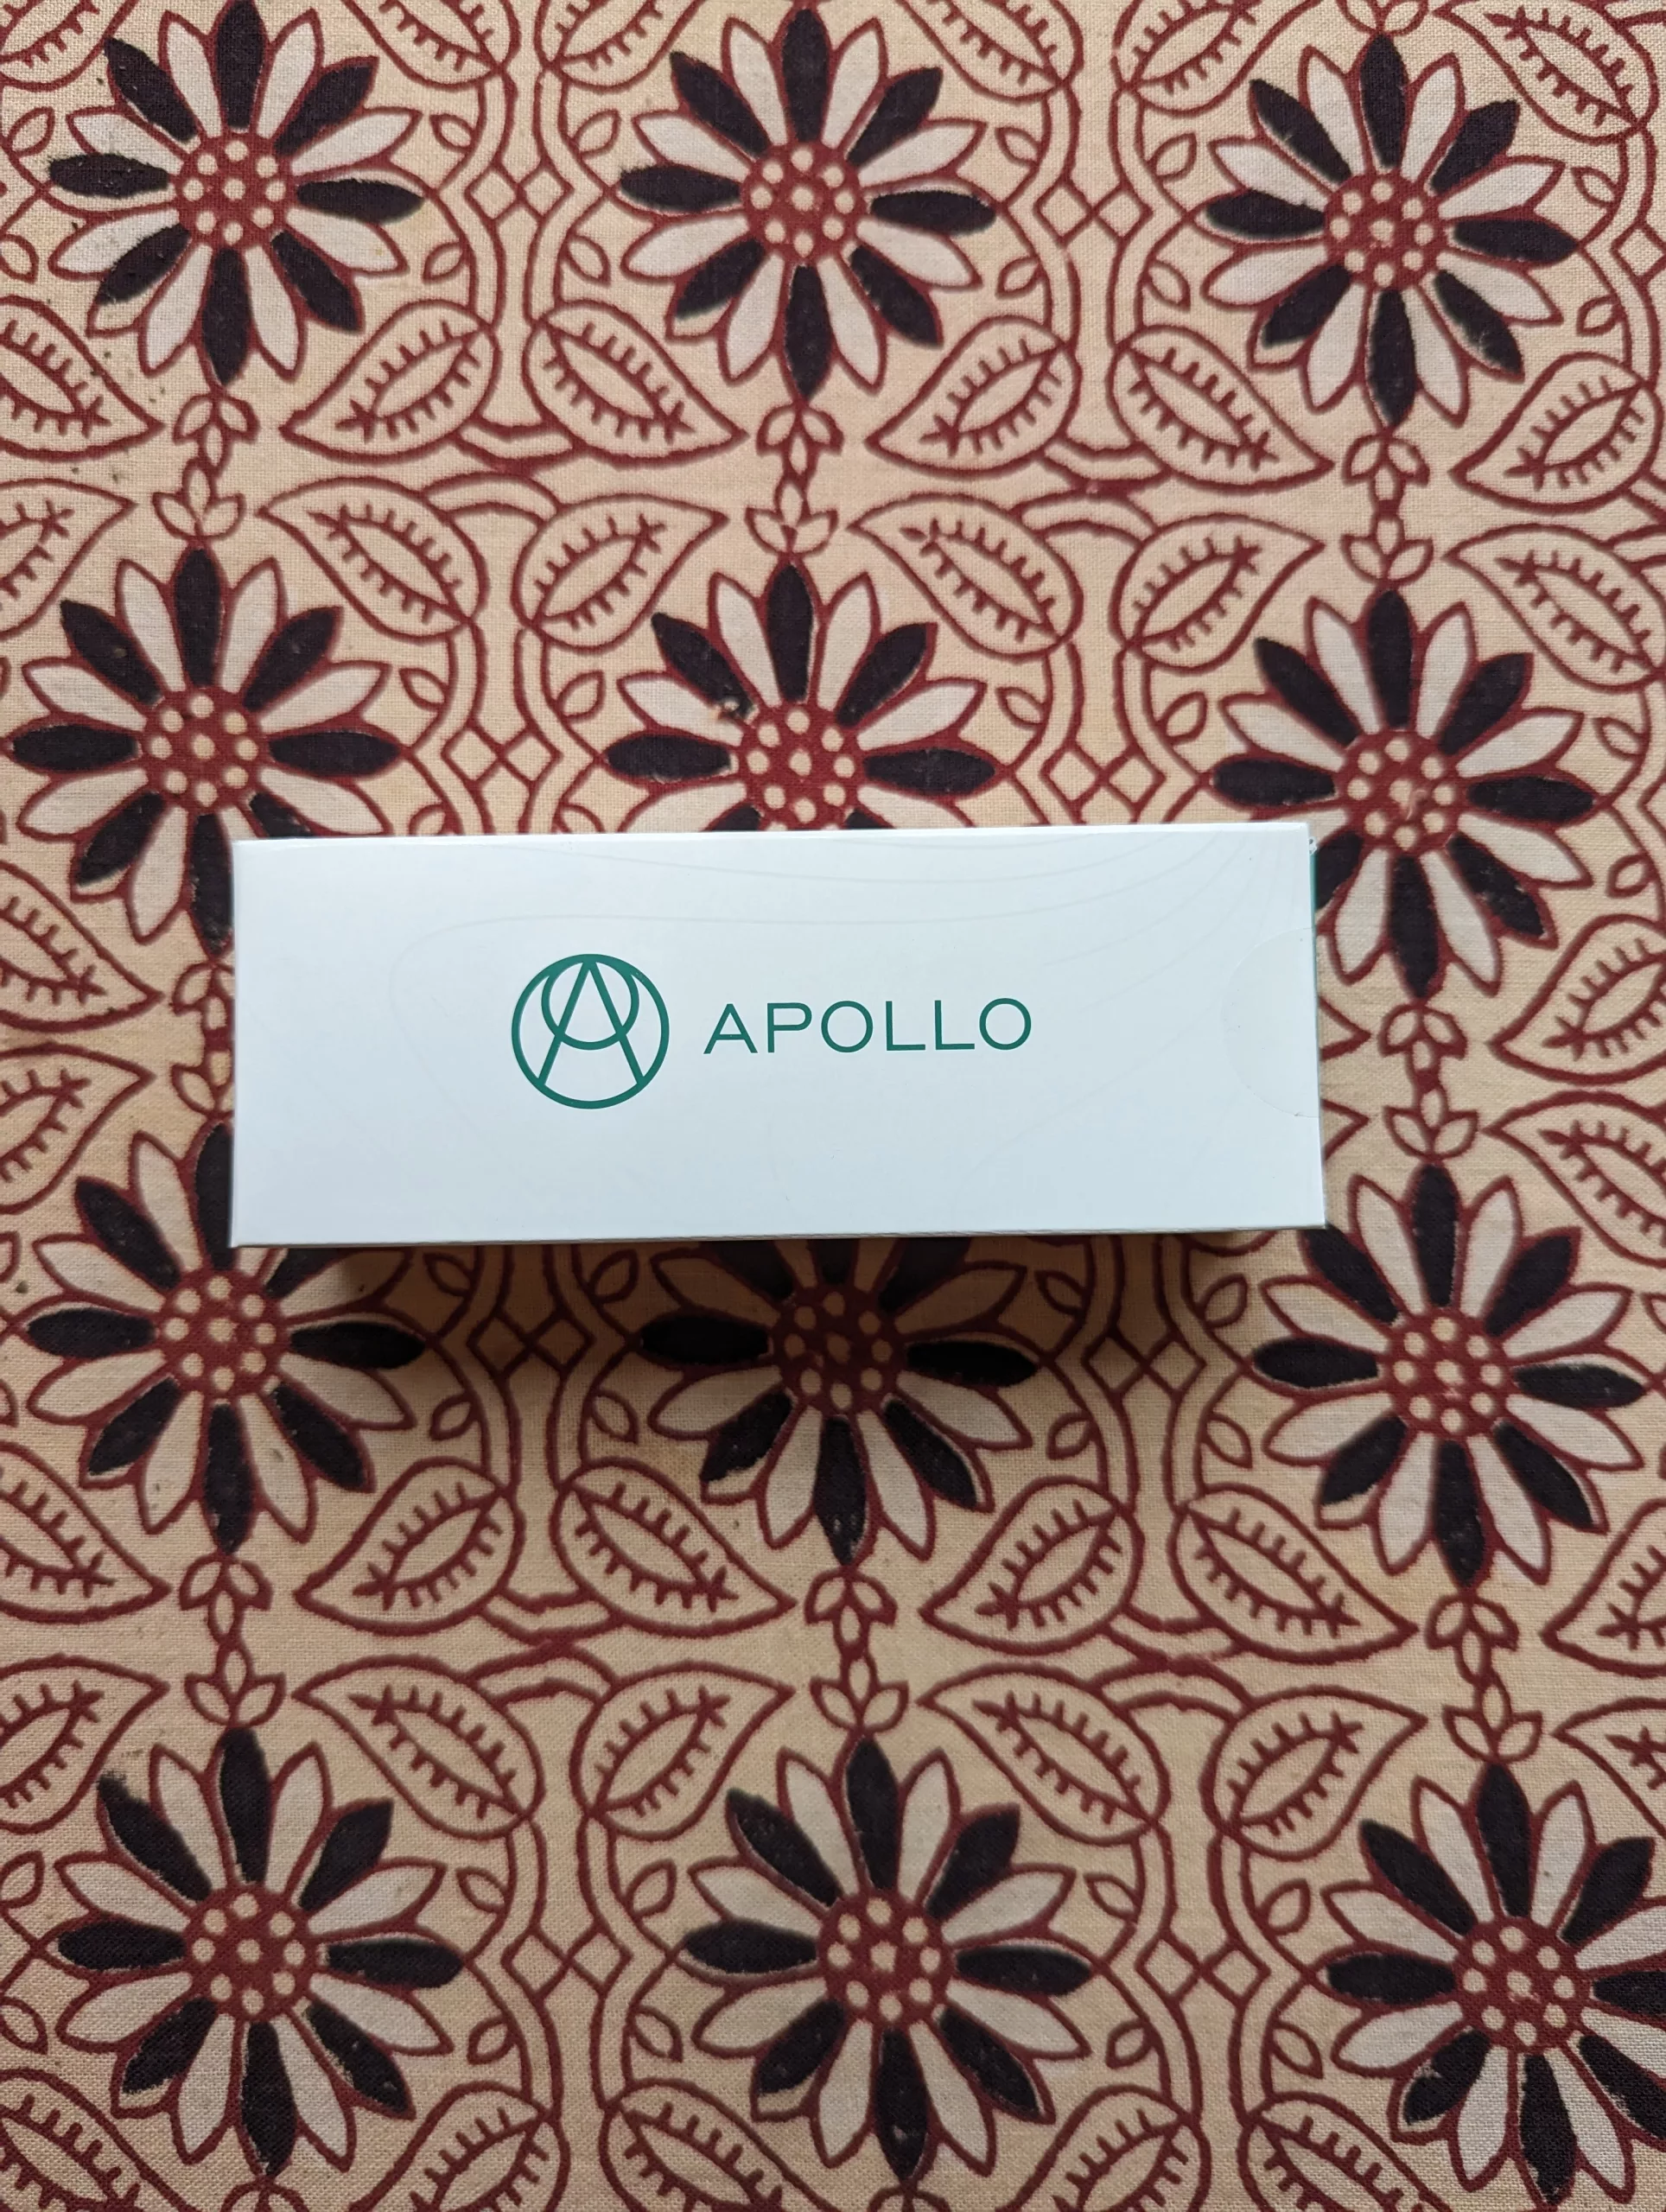
When I finally got serious about ‘getting fit’, I bought my first Oura ring. At the time, I primarily wanted to fix my sleep issues. A happy side effect of this purchase was that it made me more aware of my Heart Rate Variability (HRV). I always considered my HRV on the lower side, but quickly realized that I felt my best when it was at the higher end of the range. Pretty much since this realization, I’ve been experimenting with various ways of raising my HRV. Many ways of raising HRV involve dedication to a regular practice… exercise, breathwork, mindfulness, gratitude, etc. This isn’t always easy and started my quest for the ‘easy’ fix for raising HRV. This led me to discover the Apollo Neuro device. Read on for my Apollo Neuro Review.
What Piqued My Interest
I eventually started to hear about the Apollo Neuro on various podcasts. It started out as advertisements and I was like “yeah, right, this sounds like complete wishful thinking”. Eventually I heard an interview with the founder and key employees and thought “Ok, I can see how this *could* work.” This led me to the Apollo Neuro website where I was initially turned off by the price. I did sign up for the email list though to keep up to date with what they were doing. Over time, as I had a chance, I read their blog posts and some of the scientific studies. Eventually, I decided to take advantage of a sale and purchase one in order to test it for myself.
What is it?
So what exactly is the Apollo Neuro? It’s a haptic wearable. You can clip it to your chest or wear it around your wrist or ankle and it silently delivers vibrations to your body. Apollo mentions that it needs to be worn near a bone in order to have its stress resiliency improvement results. This is how it claims to achieve it’s results. What’s the exact mechanism of action? It’s not clear, but my prior research into improving HRV has indicated many positive studies related to both touch therapy and increasing vagal nerve tone.
My Apollo Neuro Review
The Software
In addition to the Apollo Neuro wearable device, there is also a mobile app. The Android app allows you to control which ‘Vibes’ are played on the device. At the time of writing, this includes things like Energy, Social, Focus, Recover, Calm, Unwind and Fall Asleep. For each Vibe, you can control the length and intensity of how each play. There is a mechanism for scheduling Vibes.
The Apollo Neuro Android app also collects metrics on usage. This is used to provide a bit of gamification and estimates on the perceived benefits you’ve received by using the device.
The Protocol
My plan was to stop doing anything new to intentionally modify HRV for 2 months. This would define a ‘baseline’ HRV using my OURA ring. Care was taken to maintain my same workout, drinking regimen and note using Oura tags any anomalies. After defining this, I would do the same wearing the Apollo Neuro device. There was a one week transition period to figure out the ins and outs of the wearable. The data collected during this week would not be counted for either part of the experiment.
I quickly found that I most preferred wearing the Apollo Neuro around my left ankle. Yes, it looks like I’m wearing an ankle monitor, but shorts season is only part of the year! Apollo recommends using the device for at least 90 minutes during the day and 90 minutes during the night. I followed the following schedule for the duration of the experiment:
- 9:00 AM Focus Vibe for 30 Minutes at 20% Intensity
- 11:00 AM Social Vibe for 30 Minutes at 20% Intensity
- 1:00 PM Energy Vibe for 30 Minutes at 15% Intensity
- 4:00 PM Recover Vibe for 30 Minutes at 25% Intensity
- 7:00 PM Social Vibe for 60 Minutes at 25% Intensity
- 10:00 PM Fall Asleep Vibe for 30 Minutes at 40% Intensity
So what did I find out while doing this?
The Good
Wearing the Apollo Neuro device using the supplied band was fairly comfortable. Sometimes socks interfered with wearing it, but overall I forgot most of the time that I was even wearing it.
It actually works at raising my HRV! Based on my testing, it consistently raises my HRV by almost 15% Even when drinking. It maybe related, but my deep sleep averaged an extra 3 minutes during this time as well. The Apollo app estimates that I’ve been getting 6 minutes of extra overall sleep each night during this time. Oura is recording significantly more total sleep time than that.
The different vibes feel noticeably different. Subjectively, I do feel a difference in response to the different vibes.
The gamification is nice. This is a good way to guarantee that I’m regularly checking in with the app.
The scheduling capability is fairly extensive. You can configure everything that you would want to do. Even though I’ve kept my schedule the same every day for this experiment, you can easily change it to be completely different every day.
Oura ring integration. Nothing really appears to be done with this yet, but I like that they’re thinking about it. They’re getting tons of free information from me here, so it would be nice if they would give me something in return.
The device supports airplane mode. This is a requirement for me for any wearable that is likely to be used while I’m sleeping.
The Bad
Former Android developer speaking here… like almost every wearable device, the Apollo Neuro Android app experience has a lot of room for improvement. My biggest gripes here are described below (with one major one in the ‘Ugly’ section), but so much more could be done with the gamification and responsiveness of the app.
No Google Fit/Health Connect support. iOS users can link their Apollo Neuro accounts to Apple Health and track their Apollo wearable usage as Mindful Minutes. It would be great if the same were done for Android users. This could also be tracked with the Oura integration.
Inability to join waitlist for the labs features. I’ve tried several times and in several different ways to get access to the labs features. There’s at least one vibe that I’m very interested in: Go Back to Sleep. In the latest version of the app, clicking on ‘join the waitlist’ appears to do nothing. NOTE: in a future version of the app, I was indeed able to join and gain access to the labs features. I was able to trial this out and it was mostly pretty buggy on Android. I ultimately did not continue with this as it was an additional paid feature of the Apollo Neuro app after my trial expired and it wasn’t something that I found value in.
There are general issues with syncing data. It’s not seamless and requires you to constantly connect the Apollo Neuro to the app in order to make sure the app is aware of all of your usage. You’ll soon see why this is a big problem. I’ve broken my streak in the gamification because of this issue. For someone like me, the stress caused by this issue likely counters some of the benefits that the Apollo Neuro wearable seems to provide 🤣
The Ugly
The ugliest pain point with the Apollo Neuro is unfortunately an issue with just about every wearable that supports Android. The app/device is plagued by major bluetooth connectivity problems. Everyone always blames this on “Android Fragmentation”. As a former Android developer, this was an issue early on, but it’s really not a valid excuse anymore if you’re properly coding to the Bluetooth stack using modern Android best practices.
Oura has been one of the only wearable manufacturers that seems to be focusing effort on providing an equivalent experience on Android compared to iOS. Their app now works very well. This issue is so bad on the Apollo Neuro that it often takes close to 10 minutes for the wearable to connect to the app. I’ve experienced this on both the Pixel 6 and 8 Pro. During a firmware update it once lost its connection resulting in a requirement to factory reset the device in order to make it usable again.
The device still uses micro USB… the most annoying of the USB connectors. These days, a device that costs as much as the Apollo Neuro should be supporting USB-C.
The Apollo Neuro customer support is horrible. They freely admitted that the Android experience wasn’t what it should be and really didn’t have any suggestions for making things better. On two occasions they pushed a firmware update that stopped the device from working for days at a time. The process that they had me go through to fix it the second time ultimately resulted in bricking the device. This poor support for Android users, ultimately became a deal breaker for me and I returned my Apollo Neuro for a partial refund at the urging of customer support.
Conclusion
Overall, I was initially happy with my Apollo Neuro purchase. If they fixed the bluetooth and syncing pain points, it would definitely be a much more effective device for me. Being my usual Quantified Self, I look forward to some Health Connect support. More Oura integration is also intriguing… Apollo is likely getting tons of data from this, but it would be great to see the ability to tag in Oura so I can make correlations. Another awesome feature would be auto-tailoring your Vibes daily schedule based on data from Oura. I plan on experimenting more with different vibes and intensities and with wearing the device on other places on my body. Have you used the Apollo Neuro?
NOTE: I have stopped using the Apollo Neuro because of the longstanding issues with the Android Software and support. A firmware update was pushed that ultimately bricked the device. Apollo support was not helpful in resolving the matter so I ultimately returned the device for a partial refund.

